Valentine’s Day Canvas (Easy & Cute DIY)
This DIY “I Love You” Valentine’s Day Canvas is so easy and inexpensive to make. Display this DIY canvas in your home for Valentine’s Day or year round!

Easy & Cute Valentine’s Day Canvas (DIY)
In case you didn’t know, I’m an avid DIYer and I really enjoy creating cute and simple projects to dress up the home. But being super busy, I like crafts that don’t take a lot of time to create and ones that are versatile enough that I don’t have to take down a week later when the next holiday rolls out. That’s why I love this super adorable “I Love You” Valentine’s Day Canvas.
This DIY “I Love You” Valentine’s Day Canvas is the perfect decor to add to your home for Valentine’s Day and is versatile enough that it can be kept up year round. Even better, most supplies can be found at your local Dollar Tree or on Amazon making it a super easy and affordable DIY project!
Read Next: DIY Chalk Paint Dining Table Makeover

DIY “I Love You” Valentine’s Day Canvas
This “I Love You” Valentine’s Day Canvas is not only super adorable but it’s also super easy to make! Below I’ve included all the supplies you’ll need to make it with and helpful, step-by-step instructions and photos on how to make your canvas.
As I mentioned above, this Valentine’s Day Canvas is perfect for displaying during the Valentine’s Day holiday, but can also be displayed in your home year round if you want. It would also make a great gift to give someone for Valentine’s Day!
Supplies Needed for Valentine’s Day Canvas:
How to Make Your Valentine’s Day Canvas
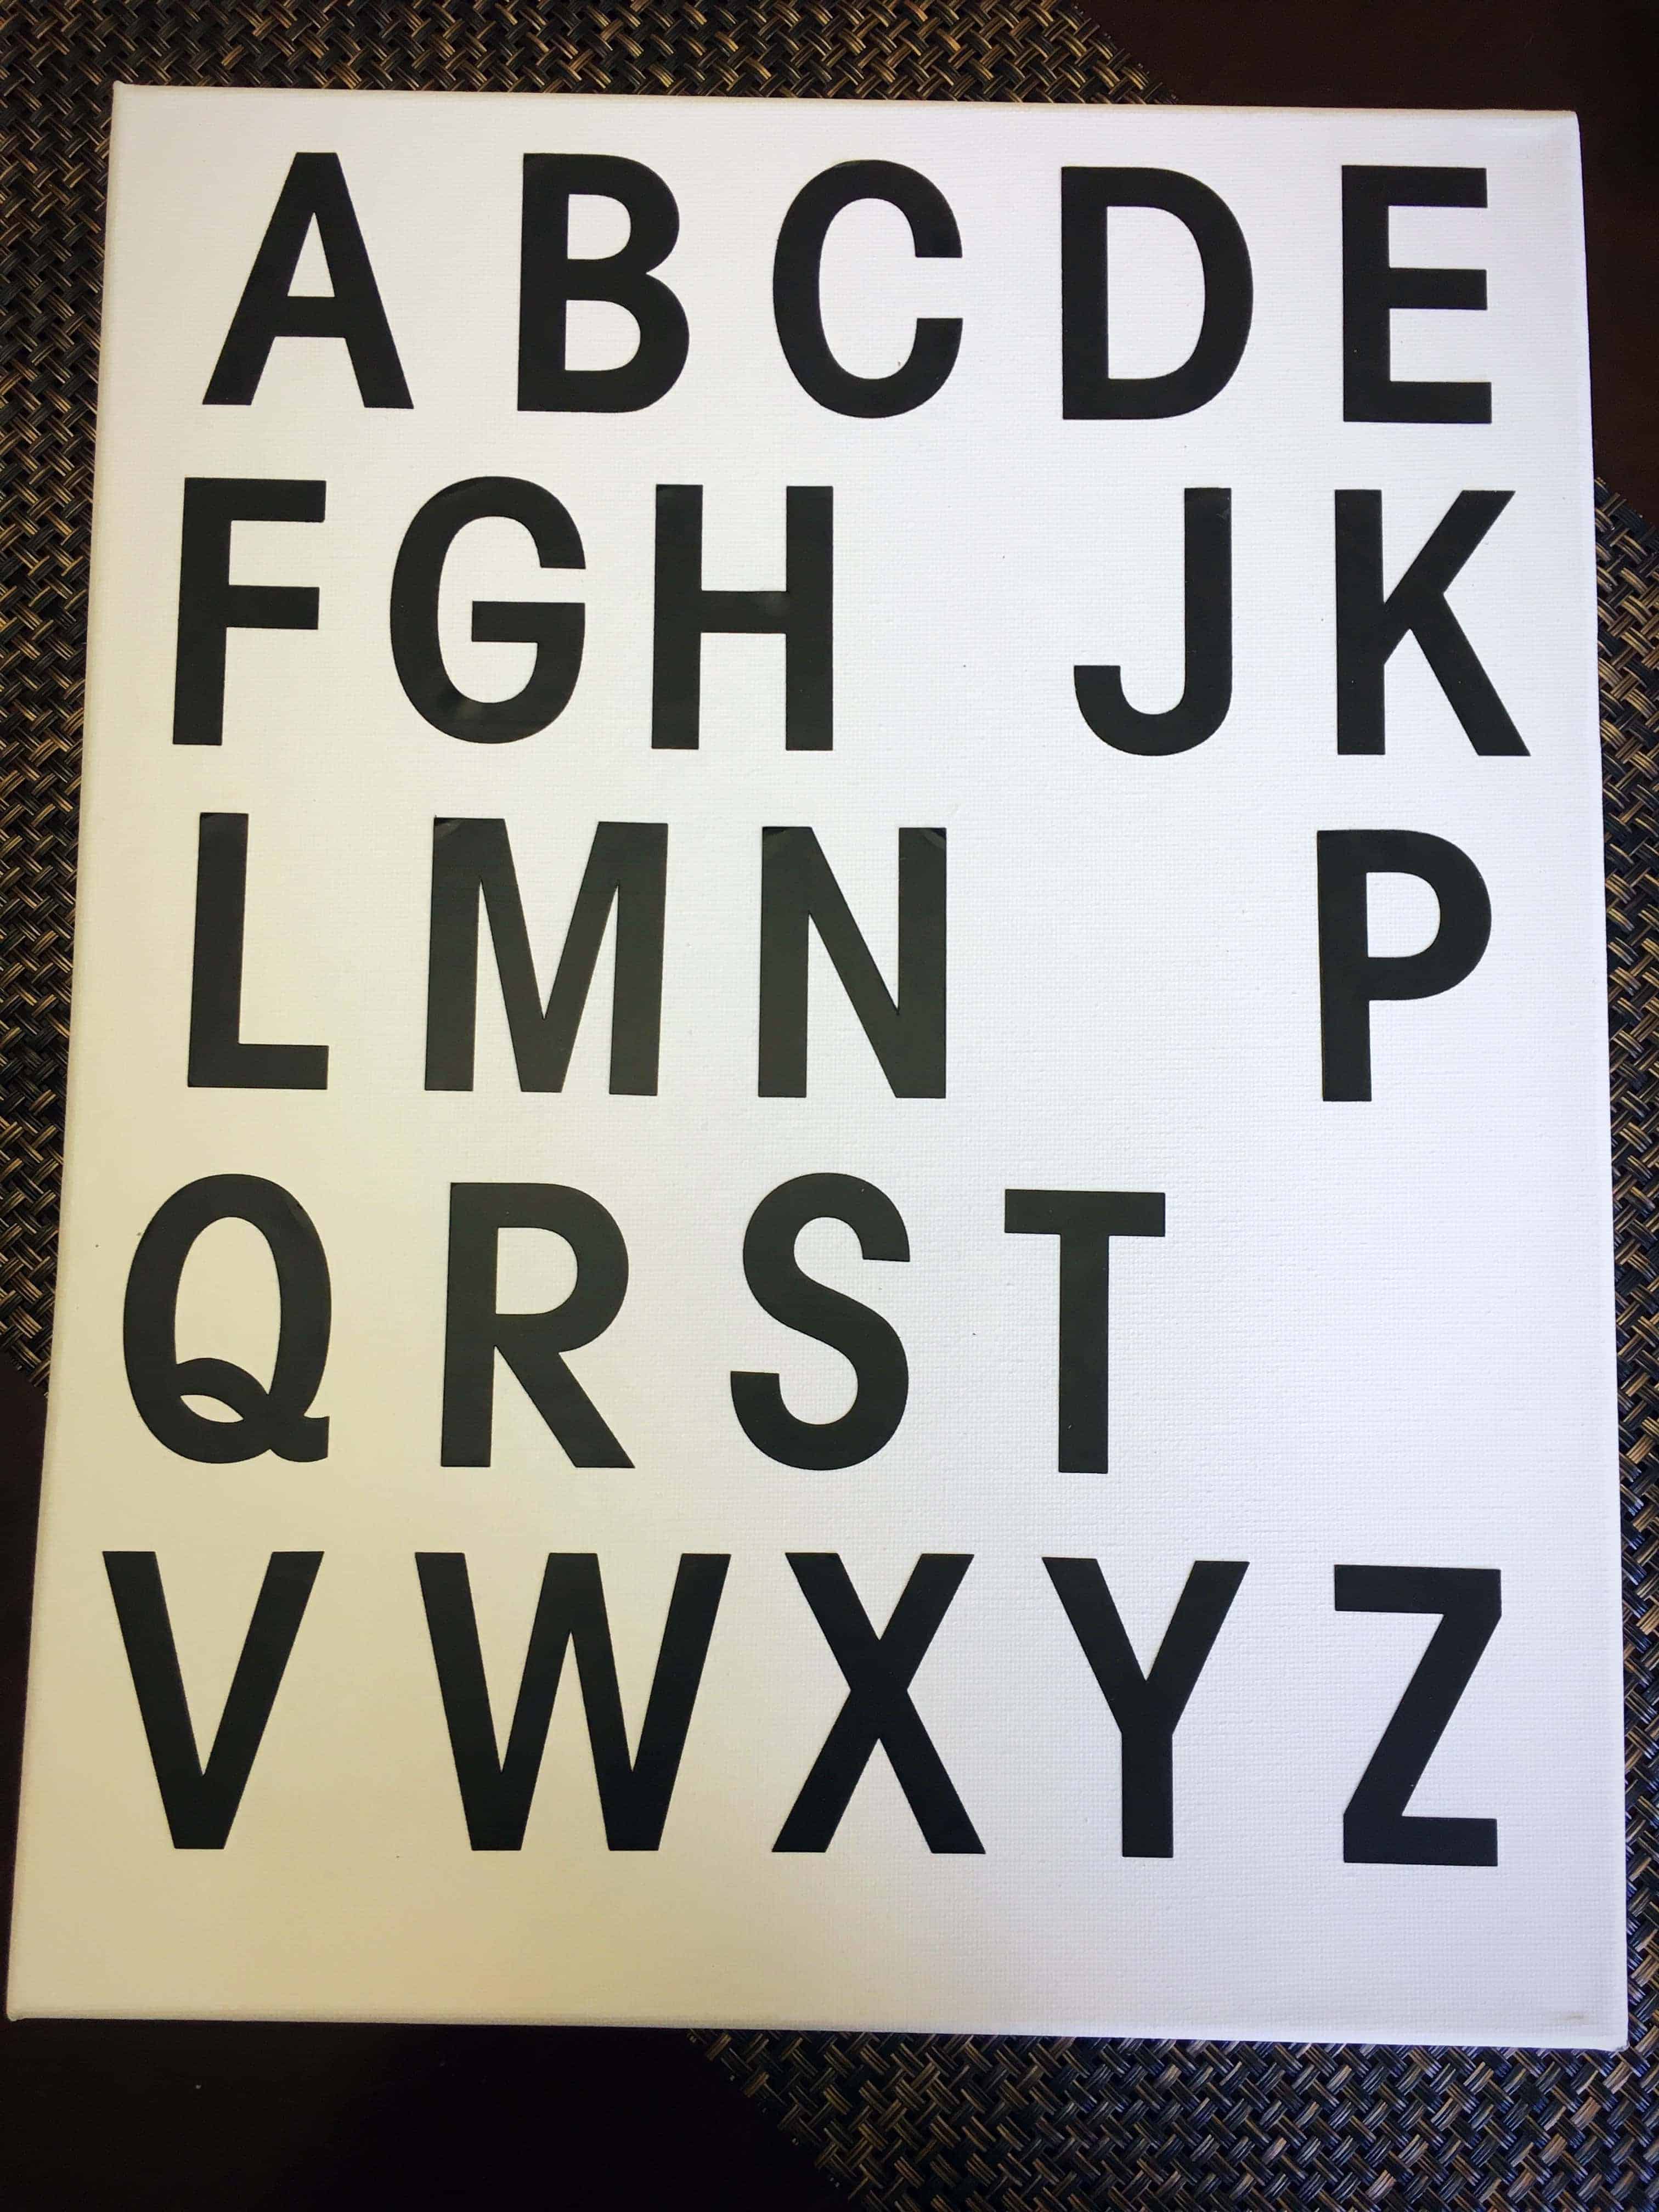
Step 1: To get started with this Valentine’s Day Canvas, start by first sticking on all of your black vinyl letters onto the canvas. The ones I purchased at Dollar Tree were just peel and stick, which made things super easy.
Since I’m a tad OCD, I used a ruler to make sure my letters were straight and spaced evenly. You’ll also want to ensure you leave enough space for the areas where the “I Heart You” will go.

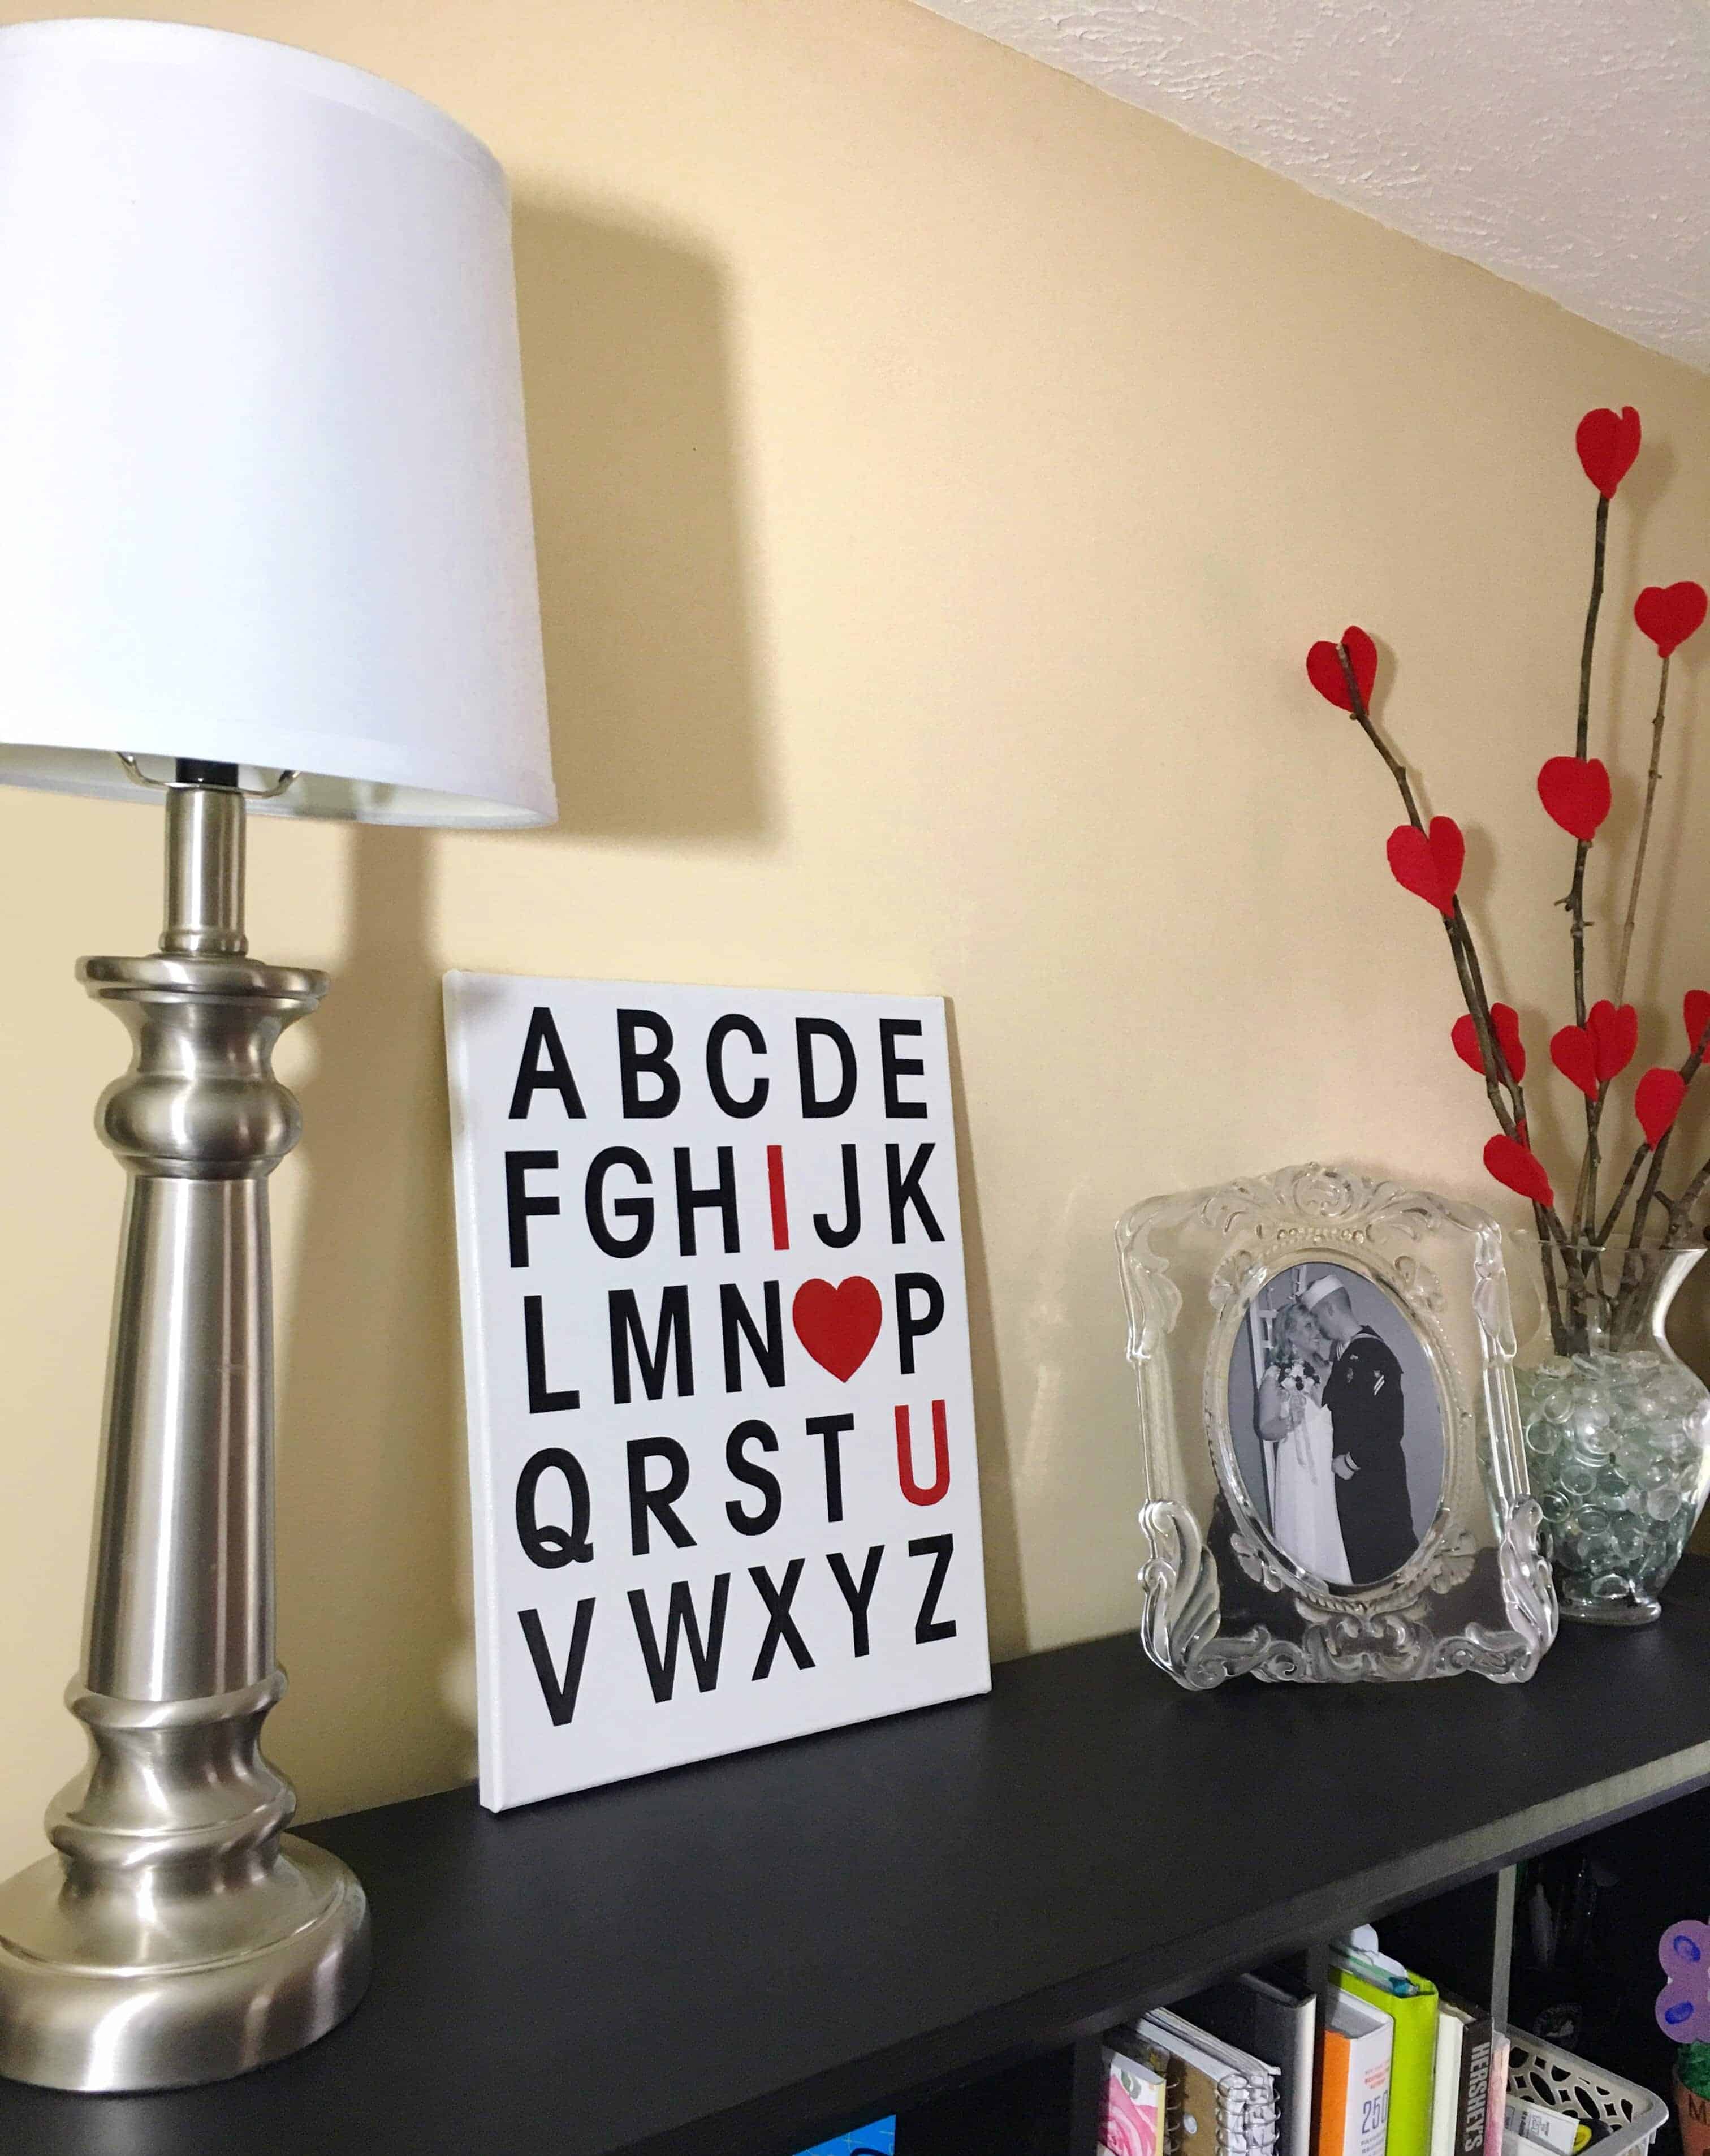
Step 2: Next, using the vinyl letters for a template, trace I and U on the cardstock, and trace a small sized heart. Place the letters on the canvas to locate the right spot, and then gently glue them down using mod podge underneath.

Step 3: Wait 5 minutes for the letters to dry completely before applying a thin layer of mod podge over the entire canvas. I used “glossy” mod podge because I wanted that particular finish, but it is completely up to personal preference, and you could easily use a matte finish instead.


Step 4: Let your Valentine’s Day Canvas dry completely, then hang or display! I sure do love how it looks on top of my desk next to one of my wedding photos!


More Crafts You’ll Love:
So there you have it! I hope you enjoyed today’s tutorial on my DIY “I Love You” Valentine’s Day Canvas, and I just love how easy and inexpensive this canvas is to create! Let me know what you think in the comments, and please give it a pin or share, if you loved it!
Thanks for stopping by!- Cara
Pin This Post

That turned out So well! Love it!!
Thanks Elle!
This is such a cute and creative idea! I love it.
Thanks Suzanne!
Adore this canvas so much. Love that i love you is a pop of red.
xoxo,
Angelle
http://www.dashingdarlin.com
Thank-you! I like that pop of color too! 🙂
Ummm looks like I’m making a Michaels run in the morning! This is AMAZING! I love it, so freaking cute!
Thank-you!!
OH EM GEE! I absolutely love this. I honestly wouldn’t make it as perfect as you did, but I am going to try it out!
Thank-you! I hope you will! 🙂
This is awesome. I love DIY and this canvas looks beautiful, perfect for Valentine’s Day!
Xo,
Shreya
https://mymagicaltrunk.com/
Thank-you! I’m going to keep it up a little while longer too! 🙂
This is super cute and super easy to do! Thank you for sharing! I might do this as a DIY project with my husband in the next couple of weeks!
Thanks! Oh that sounds like a lot of fun!
Such a cute idea. I really like this. Might have to so something similar when I get up and get my bum to the art store.
Thank-you! I actually picked up most of the supplies at Dollar Tree and Wal-mart, so super easy! 🙂
This is so awesome Cara! What a creative and easy idea!
Thank-you Rachel!
I love this! What a great & thoughtful DIY!!
xo’
jen
effortlesseverydaystyle.com
Thanks Jen! 🙂
This is such a cute idea !
Thanks Rochelle!
SUCH a good idea. Love it.
Thanks!
This would be so cute for my little girl’s room, she would love to help make something like this. And I totally wouldn’t have thought to mod podge over it, what a good idea.
Thank-you! Yeah, it’s just an added layer of protection, plus I liked the glossy sheen it gave it! 🙂
Love this idea – it would be super cute in my girls’ room! I need to do some more DIY projects, they’re so much fun and so rewarding too!
Thank-you! I agree- nothing like making you’re own decor that fits your style! 🙂
This looks like a great project and I think I even have a blank canvas left over I could use!
Oh, I hope you’ll give it a try! 🙂
This is so adorable! And such an easy DIY project!!
Thanks Pam!
This is too cute! It would be a cute piece of bedroom decor all year around too.
Thanks! That’s a great idea too!
This is so adorable! I love a good DIY project and this one is perfect! Not too pricey and pretty quick!
Thanks! Inexpensive and easy are my two favorite things when it comes to crafts! 😉
This is just too cute. Pinning it and sharing it with crafty friends.
Thank-you! & thanks for sharing! 🙂
This is adorable! I love it! What an easy and cute DIY.
Thanks Erica! so simple and cute! 🙂
What a lovely and creative idea! Great DIY I need to try!
Thanks Natalie! I hope you will!
That looks great! To be honest, I thought it was machine made, everything is so straight!
Aw, best comment ever goes to Beth! haha No seriously I had to move those letters 800 times before it was straight lol.
Awww! That turned out super cute! 🙂 I really like how the letters ended up being arranged, it’s so clever!
Thank-you Rachel! 🙂
This is such a cute and fun idea!!! And it looks so easy to make. I would be major OCD with the ruler too lol
Meghan | beyondbasicblog.com
Thank-you! Yeah I wish I was one of those who could just stick the letters on and it magically be straight, but not so lol.
I really love this idea! It is so cute and easy to make. I love making gifts instead of buying them so this is perfect!
Thank-you! And this one is so simple too!
This is so dang cute. We always make each other something so this may have to be done!
Thanks! Oh that’s sweet that you all always make something!
I’ve always wanted a sign like this. I guess I should make it now. 🙂 Too Cute!
Thanks! Yeah I’ve seen similar signs for like $100 or more, and I’m like forget that I’ll DIY it instead lol!
This is so cute! I love the cleverness of it.
Thank-you Becky!
Ahhhh! I love DIY projects! This is so cute. So tempted to make it, but I have so much art I still need to hang up. Gah! So so cute!
Thanks Cassie! I know what you mean I’m so bad at getting something and then not hanging it for months. I always make my husband do that because he can hang stuff straight haha! 😉
This is so cute!!! I love how the red sticks out among the black and white. I could so see my OCD self go a little crazy though with the ruler. I am a ridiculous person.
Thank-you! & yeah-side note, I moved those around probably 8,567 times lol.
This is so cute!! And I feel like you could totally leave it out year-round!
Thanks! That’s why I chose red over pink letters, so it would be more versatile. 🙂
What a cute idea! I love DIYs!
Thanks Rachel! It was so simple!
Cool idea! Love you Cara
Thanks, love you!
That is pretty clever. And such a sweet little idea. Awww!
Thanks Stephanie! Glad you liked it!
This is just too cute and super easy! Love it!
xo, Lily
Beauty With Lily
Thanks Lily!
This is seriously too cute! I love how subtle it is, but at the same time it is not so subtle.
Thanks Erin! I like that it is versatile enough to keep up awhile longer even after Valentine’s Day. 🙂
This is so cute and easy! What an adorable Valentine’s Day decoration.
Thanks Helen! It looks so nice this time of year! 🙂
This is adorable!! Definitely going to give it a go!
Thanks Jamie!
This is super cute! I’m doing a paint night next weekend that is a Valentine’s Day Themed canvas that says L-O-V-E-.
Thanks! Oh that sounds like so much fun, and that will look great!
This is such a great DIY. I’m right there with you in a project needing to be simple and not time consuming. This came out great! Beautifully Candid
Thanks Sierra! It was a fun project!
I’ve seen something like this similar for baby nursery rooms! This is way cute for the Valentines holiday. You’re so dang creative!
Oh really? I bet that’s adorable too! Thank-you! 🙂
This is sooooo cute and actually looks like a DIY I can do!
Thanks! It was sooo simple to create! 🙂
This is so cute! It’s such an easy DIY too!
Thank-you! I love DIYing!
This is such a great idea and so cute too!
Belle | One Awesome Momma
Thanks Belle!
So cute! Such a great idea for Valentine’s Day!
Thanks Annie! I enjoyed making it!
This is adorable, and you could use it year round.
Thank-you Robyn!
That is just adorable!!! & seems simple enough. I’m all about that!
Thank-you! It was & totally inexpensive too! 🙂
Too cute. You did an awesome job!! It looks completely professional!
Thank-you! Those vinyl letters from Dollar Tree are awesome! 🙂
Incredibly cute DYI. Very unique.
Thank-you Kathy!
I love this DIY! I am going to pin this and recreate it next weekend!!
Thank-you! Hope you enjoyed making it! 🙂
Genius! I love how simple this project is, but it adds a little pop of color too. Thanks for sharing this idea! 🙂
Thanks Lecy! Perfect for Valentine’s day but neutral enough to stay up awhile longer! 🙂
Love this idea and so easy! Ive been on a big DIY kick lately, so this may be added to the to do!
Thanks! It seriously is so easy, which I love!
You are an amazing DIYer And I adore this!! Perfect in every way! Have a great Monday sweetie
Thank-you Andrea! You are the sweetest! 🙂
This is soooo cute. I totally need to make this!
Thanks Emelia! It’s so easy!
This is really cute and easy enough to make. Great for valentines day, thinking I could do this with kids names as well.
Thank-you! That’s a great idea too, Candy!
I love this! I also feel like I could leave it up all year round too
Thank-you! That’s why I chose to go with red instead of pink, so it would be pretty neutral. 🙂
So cute and easy! love it!
Thank-you! I’m all about simple, no-fuss projects! 🙂
I love this DIY tutorial! This is just so cute and simple for Valentine’s Day!
Thanks Ashley!
This is BEYOND adorable! I love and need this.
Thanks Chels! It’s so simple to put together! 🙂
I love Diy things!! Its seems so creative and lovely !! I definitely try it for Valentines day <3
Thank-you! I love DIY too!
What a unique idea especially with Valentine’s Day around the corner! Love this idea, Cara!
Thanks Kiara! Honestly, I’m wondering if I won’t just keep it up for awhile, since it’s pretty neutral! 🙂